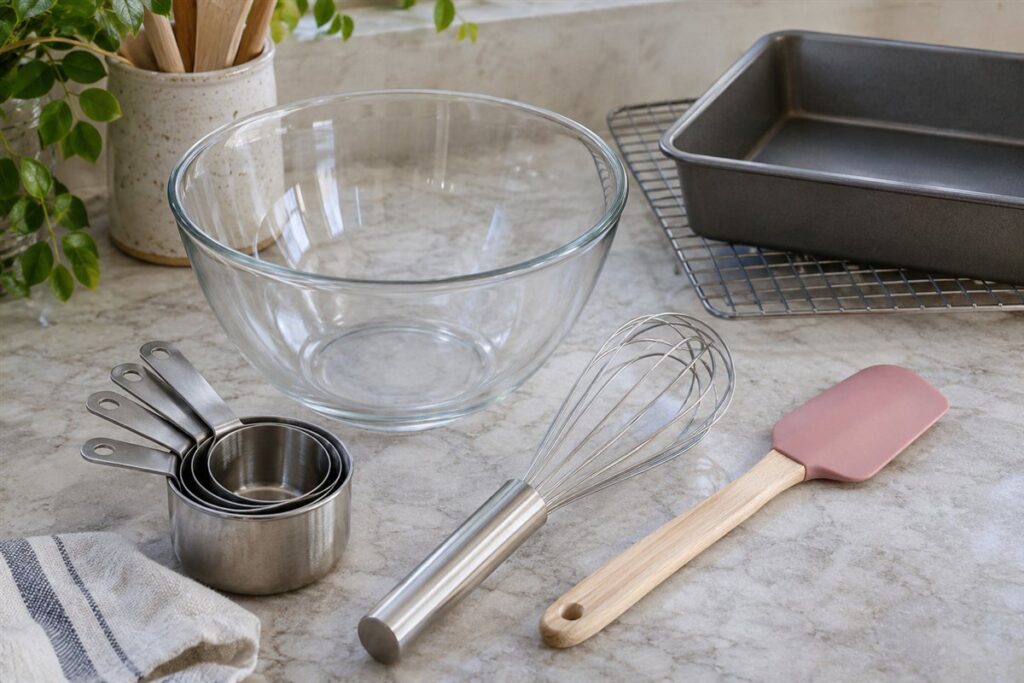
New bakers can do a lot with a short list: a few pans, measuring tools, mixing bowls, a spatula, a whisk and a cooling rack. You do not need a cabinet full of gadgets to bake well. This checklist covers what to gather first and what can wait, then walks you through a first bake.
Pans and Sheets
- Half sheet pan: For cookies, roasted vegetables and sheet-pan bakes.
- Round or square cake pan: An 8 or 9 inch pan covers many cakes and brownies.
- Loaf pan: For banana bread, pound cake and sandwich loaves.
- Muffin pan: A 12-cup pan handles muffins and cupcakes.
Measuring and Mixing
Baking rewards careful measuring, so these tools matter more than fancy equipment.
| Tool | What it does | Tip |
|---|---|---|
| Dry measuring cups | Measure flour and sugar | Level off with a knife edge |
| Liquid measuring cup | Measure milk and oil | Read at eye level |
| Measuring spoons | Measure small amounts | Choose a set that fits spice jars |
| Kitchen scale | Weighs ingredients | Often more consistent than cups |
| Mixing bowls | Hold batter and dough | Have a large and a medium size |
Tools for Handling Batter and Dough
- A silicone spatula scrapes bowls clean and folds in delicate ingredients.
- A whisk blends dry ingredients and beats eggs.
- A wooden spoon stirs thick doughs and cookie batter.
- A flexible turner moves cookies from the pan to the rack.
- A sifter or fine strainer removes lumps from flour and cocoa.
Finishing Touches
- A cooling rack so baked goods firm up without getting soggy.
- Parchment paper to line pans and ease cleanup.
- Oven mitts for handling hot pans.
- An oven thermometer, since many ovens run hotter or cooler than their dials say.
- A timer, even if your oven has one, so you can track more than one step.
What Can Wait
A stand mixer, pastry bags, specialty molds and a rolling pin with fancy features are all useful later, but you can bake plenty without them. A hand whisk and a bowl will take you far. Wait until you notice a task that feels hard before you add a new tool.
A Sensible Order to Buy
- Pans and a cooling rack, since they set the foundation.
- Measuring cups, spoons and a scale.
- Bowls, a whisk and a spatula.
- Oven thermometer and timer.
Spread the purchases over a few weeks as you try recipes, and you will quickly see what you use.
Walkthrough: Your First Bake
A simple batch of drop cookies or a quick loaf uses nearly every tool on this list. Follow the order below with any basic recipe.
- Read the whole recipe before you touch an ingredient. Note the oven temperature, the pan size and any resting steps.
- Set the oven rack in the middle and heat the oven. Check the real temperature with your oven thermometer once the oven signals it is ready, then adjust the dial if needed.
- Line the pan with parchment or grease it as the recipe says.
- Measure everything first. Weigh dry ingredients if you have a scale, or spoon flour into the cup and level it instead of scooping, which packs it down.
- Combine dry ingredients in one bowl and wet in another, then mix them together just until no dry streaks remain.
- Portion or pour the batter into the pan, leaving space between cookies or room for a rise.
- Set the timer for the earliest time in the recipe range, then check. Use the visual cues the recipe describes, such as golden edges or a clean skewer.
- Cool the pan briefly, move the bake to a rack, and let it cool before cutting or storing.
Common Scenarios
You only have one pan
Bake in batches and let the sheet cool between rounds, because dough placed on a hot pan spreads before it bakes.
A tiny kitchen
Choose nesting bowls and a set of stackable measuring cups. A pan with a rim doubles as a roasting tray and a cookie sheet.
A recipe lists grams
This is a sign a scale would help. Without one, look for a trusted conversion chart rather than guessing.
You bake for someone with an allergy
Wash bowls, tools and pans thoroughly between recipes, and read ingredient labels each time.
Mistakes to Avoid
- Scooping flour straight from the bag with a cup. It compacts the flour, and the extra amount makes baked goods dry.
- Skipping the oven thermometer. If the oven runs hot or cool, recipes will seem to fail for no reason.
- Opening the oven early and often. Heat and steam escape, and delicate bakes can sink.
- Cutting a bake while it is hot. The structure is still setting, so slices can tear or crumble.
- Using the wrong pan size. A smaller pan makes a thicker bake that needs more time, and a larger one bakes faster.
Quick Troubleshooting
| Symptom | Likely cause | What to try |
|---|---|---|
| Cookies spread thin | Warm dough or a hot pan | Chill the dough and cool the pan between batches |
| Bottoms burn | Dark pan or rack too low | Move to the middle rack or use a lighter pan |
| Cake sinks in the middle | Oven door opened early or underbaking | Keep the door shut until the final stretch |
| Dry, crumbly texture | Too much flour or overbaking | Weigh flour and check earlier |
| Stuck to the pan | No liner or grease | Use parchment or grease and flour the pan |
Care and Upkeep Over Time
Good baking tools last for years when you handle them gently. Wash metal pans by hand with warm water and a soft sponge, and dry them right away so they do not spot or rust. Avoid steel wool, which scratches finishes and makes food stick later. Wooden spoons should be washed quickly and dried, not left to soak. Silicone spatulas can go in the dishwasher if the maker allows, but check for cracks near the edge, because torn silicone can shed bits into batter.
Measuring cups and spoons stay accurate as long as they keep their shape, so keep them away from open flames and stove tops. Replace cooling racks that rust or bend, and wipe oven thermometers clean so you can read the dial. If a sheet pan warps, it is usually from sudden temperature changes, such as running cold water over it while hot, so let pans cool before washing.
Glossary
- Cream: beat butter and sugar together until light and fluffy.
- Fold: combine gently with a spatula to keep air in a mixture.
- Sift: pass dry ingredients through a mesh to remove lumps and add air.
- Proof: let yeast dough rest and rise before baking.
- Parchment: heat-safe paper used to line pans.
- Rimmed sheet: a baking pan with a raised edge that holds drips and juices.
FAQ
Do I need a scale?
It is not required, but weighing ingredients tends to give more consistent results, especially for bread.
Which pan should I buy first?
A half sheet pan, because it is useful for baking and for roasting dinner.
Is parchment paper necessary?
Not strictly, but it prevents sticking and shortens cleanup. Check the box for its temperature limit and keep it away from the oven element.
Should I buy dark or light pans?
Dark pans absorb more heat and can brown bottoms faster, while light pans brown more gently. Check the recipe, and lower your rack if you notice dark bottoms.
How do I know a bake is done?
Use the cues in the recipe, such as color, a springy top or a clean skewer. For anything containing meat or eggs in a main dish, follow food-safety guidance for doneness.
The Short Version
Begin with a sheet pan, a cake pan, measuring tools, bowls, a spatula, a whisk and a rack. Add more as your baking grows, and let each recipe teach you what is missing.