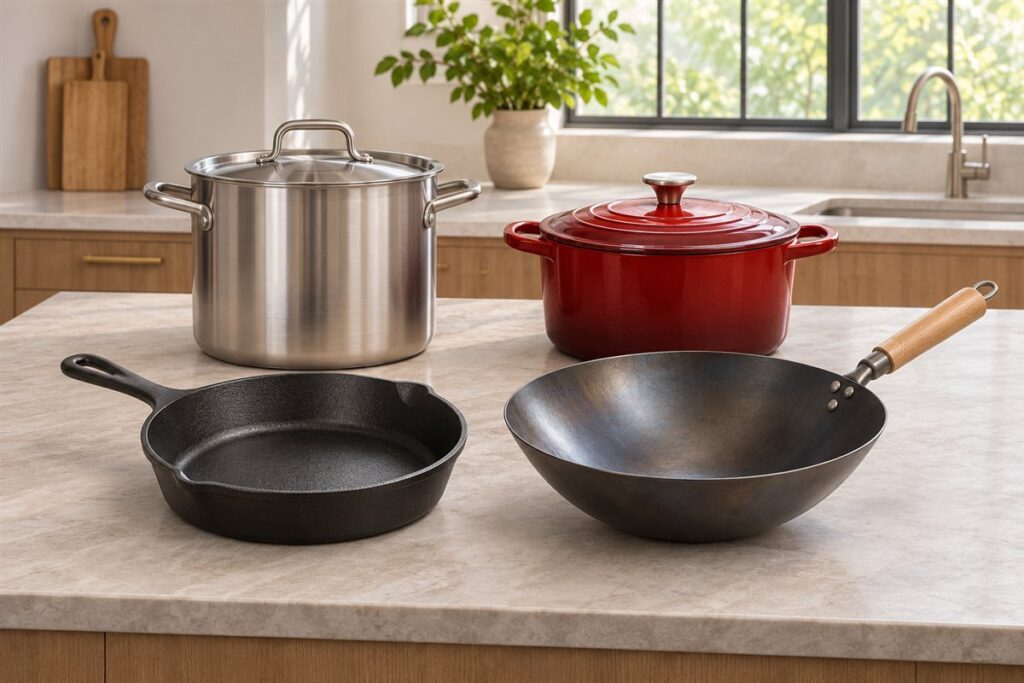
Burnt food looks hopeless, but most pans recover with patience and a gentle approach. The method depends on the pan material, so check what yours is made of first. Soaking and simmering do most of the work, while scrubbing hard usually makes things worse.
First Steps for Any Pan
- Turn off the heat and move the pan to a heat-resistant surface.
- Let it cool fully. Do not plunge a hot pan in cold water, as it can warp.
- Scrape off loose bits with a wooden or silicone spatula.
- Fill with warm water and a squirt of dish soap and let it soak for an hour or more.
If smoke appears while cooking, open a window and turn on the fan.
Methods by Pan Type
| Pan type | Gentle method | Avoid |
|---|---|---|
| Stainless steel | Simmer water with baking soda, then scrub with a nylon pad | Rough metal pads on polished finishes |
| Nonstick | Soak in warm soapy water; use a soft sponge | Metal tools and abrasive powders |
| Enameled | Soak, then use baking soda paste and a soft cloth | Steel wool |
| Cast iron | Scrape, scrub with coarse salt, then re-oil | Long soaking |
The Baking Soda Simmer
This method suits many stainless and enameled pans. Cover the burnt area with water, add a couple of spoonfuls of baking soda, and bring it to a gentle simmer for five to ten minutes. Take care when pouring or stirring, since the water is hot. Turn off the heat and let it cool, then scrub with a nylon pad. Repeat if needed.
Preventing the Next One
- Use medium heat unless a recipe asks for more.
- Stir sauces and sugar mixtures often.
- Set a timer so you do not walk away.
- Add a splash of liquid before the pan runs dry.
- Choose a pan with an even, thick base for sticky foods.
Patience beats force. Burnt sugar, scorched milk and baked-on cheese all soften with warm water and time, so let the soak do the work and repeat it if needed. A second soak overnight is often more effective than five minutes of hard scrubbing, and it protects the pan surface. If a pan is thin and has warped from heat, or if the coating is flaking, it may be time to replace it instead of cleaning it again. Check the maker’s guidance on what the pan can take.
Why Food Burns Onto Pans
Understanding the cause helps you clean more effectively and prevent it next time. Food burns onto a pan when sugars, proteins or starches are heated beyond the point where they simply brown and begin to carbonize. They bond to the metal surface, forming a hard layer. Sugary sauces, milk, rice, tomato dishes and cheese are common culprits because they stick easily.
Several factors contribute. Heat that is too high for the pan and the food is the most frequent cause. Thin pans create hot spots where food scorches, while thicker, evenly heating pans reduce this risk. Too little liquid or fat, leaving a pan unattended, and not stirring a thick mixture can also lead to burning. A pan that is scratched or worn may grip food more tightly.
Knowing the type of burn guides your approach. A light scorch, where food is darkened but thin, usually lifts with soaking and gentle scrubbing. A thick, black layer on the base needs patience and possibly repeated treatments. A burn on a coated surface requires the most care, because aggressive scrubbing can damage the coating.
Check your pan’s care instructions before choosing a method. What works for stainless steel may be wrong for nonstick or enameled surfaces. If you are unsure, start with the gentlest option and work up.
Soaking and Loosening First
Patient soaking does much of the work and saves your effort. After removing the pan from the heat, let it cool until safe to handle, since cold water on a hot pan can warp it. Pour out loose food, then fill the pan with warm water and a few drops of dish soap. Leave it for several hours or overnight if the burn is thick. The water softens the residue and loosens its grip on the surface.
After soaking, try loosening the food with a wooden or silicone spatula, working from the edges toward the center. Avoid metal tools on coated pans, and be careful on all surfaces to avoid gouging. A nylon brush or non-scratch sponge can lift softened residue. If it still resists, repeat the soak with fresh warm water or follow with another method.
Tips for effective soaking:
- Use enough water to cover the burnt area completely.
- Warm water works better than cold for greasy residues.
- Check periodically and scrape gently as food softens.
- Change the water if it becomes cloudy and the residue remains.
Soaking is the safest first step for nearly all pan types, but check the maker’s guidance for prolonged water contact, especially with materials such as bare cast iron or wooden handles.
Gentle Scrubbing Tools and Technique
Once residue has softened, choose a tool that matches your pan. Non-scratch sponges and nylon brushes suit most surfaces, including coated ones. Stainless steel and some other uncoated pans tolerate firmer scrubbing with a scouring pad, but test a small area first and follow the care instructions. Metal wool and harsh abrasives can leave scratches that make future sticking more likely, so use them sparingly or not at all.
Technique matters. Use small circular motions rather than heavy pressure, and let the soaking and cleaning agents do the work. Rinse often to see progress. Work from the edges toward the center and avoid forcing stuck pieces off in a single pass. If a burnt patch resists, stop and soak again rather than scraping harder.
Helpful additions include:
- A paste of baking soda and a little water, applied to the area and left for a while, for pans where the maker allows it.
- A wooden spoon edge or plastic scraper for stubborn corners.
- A small brush for rivets and seams where residue collects.
Rinse the pan thoroughly after scrubbing so no cleaning residue remains. Dry it fully, check the surface and, if it is a pan that needs it, restore any seasoning according to the maker’s instructions. If marks remain but the surface is smooth, they are often cosmetic.
Stains, Discoloration and What Is Cosmetic
After a successful clean, some pans keep faint marks, and it helps to know which ones matter. Rainbow-colored or bluish tinges on stainless steel are usually heat marks and are harmless. A brownish film that remains after washing may be baked-on oil, which builds up over time and can often be softened with repeated cleaning. Dark spots that feel rough are residue, while a smooth dark area may be a stain.
Cosmetic marks do not usually affect performance. Concern grows when the surface itself changes, such as scratches, pitting, flaking or bare patches on a coated pan. These conditions can make food stick and are best assessed with the maker’s guidance. If a nonstick coating looks damaged after cleaning, consult the manual.
Questions to ask yourself:
- Is the surface smooth to the touch?
- Does food release as before?
- Are there flakes or peeling edges?
- Is the base still flat, or has it warped?
A warped base spins or rocks on the hob and heats unevenly, making future burns more likely. If residue persists on a smooth uncoated surface, repeating the soak and gentle scrub over a few days can help. Avoid chasing perfection with aggressive methods that risk permanent damage.
Care Habits That Prevent Repeat Burns
A few changes in cooking habits reduce future burning. Match the heat to the pan and food, starting lower and increasing as needed. Preheat gently, add fat or liquid as the recipe directs, and stir foods that tend to stick. Stay close to the stove with sugary or starchy dishes, because they can burn within moments of being left alone.
Choose the right pan for the task. A heavier, evenly heating pan suits sauces and dairy, while a thin pan may need more attention. Make sure the pan size fits the burner and the amount of food, since too little food in a large pan can scorch.
Simple habits:
- Use enough liquid when simmering and top up if it reduces.
- Stir often, scraping the base and corners.
- Reduce heat once a liquid boils.
- Set a timer for dishes you tend to forget.
- Soak pans soon after cooking, before residue hardens.
Regular cleaning prevents buildup that makes sticking more likely. If a pan burns repeatedly even with careful use, consider whether it is warped, scratched or a poor match for the task. Replacing a pan that cannot be used reliably can be more practical than continuing to battle it. Keep the maker’s care guide handy.
FAQ
Can a heavily burnt nonstick pan be saved?
Light residue may lift, but a damaged coating cannot be repaired. Follow the maker’s advice on when to replace it.
Is vinegar a good idea?
Mild vinegar solutions can help on stainless steel, but follow the maker’s care guide, especially for coated pans.
How long should I soak a burnt pan?
A few hours is usually enough for a light burn, while thick burns may need overnight soaking. Check the pan's care instructions, especially for materials that dislike long water contact. Repeat if needed.
Can I use steel wool on a burnt pan?
Only on pans that the maker says can handle it, and even then use caution. Steel wool can scratch and leave marks that cause more sticking. Try gentler methods first.
Is it safe to put a hot pan in cold water?
Not usually. Sudden temperature changes can warp the metal or damage a coating. Let the pan cool first.
Why does my pan keep burning food?
Heat that is too high, thin construction, too little fat or liquid, and lack of stirring are common reasons. A scratched or warped pan can also be a factor. Adjust heat and technique, and inspect the pan.
Will baking soda harm my pan?
It is mild, and many makers allow it, but some finishes may not tolerate it. Check the care guide first. Use a paste and rinse thoroughly.
Can I use the dishwasher on a burnt pan?
Dishwashers rarely remove baked-on burns, and some pans should not go in them at all. Soak and scrub first. Follow the maker's guidance.
The Short Version
Cool the pan, soak it, and use a baking soda simmer or paste suited to its material. Avoid harsh scrubbing and watch the heat next time.